Well another day down and I seem to be on a bit of a roll with the minis! A few days ago I showed some nearly complete US Marine Corps soldiers on the 6mm Facebook page (link in the right tab) and am pretty happy with the final product, but not so happy with the photos - so I went and redid them after I realised I could get a lot more from my "lightbox" AKA 'My desk lamp bent down almost directly onto the model' by putting the model on an angle so the light hits it directly.
Because, you know, science 101 - light travels in a straight line etc and twit here didn't quite remember that for the last few shots.
Situation resolved! ;)
 Anyhow, you may be wondering why the pictures of muddy, cruddy fields? Well that is because that is the look I am aiming for with the bases on my miniatures... I want them to look like they are in a place that is going through some regular storms. These kind of storms make a real, real fine (and really... REALLY gluey) mud that sticks to ANYTHING thanks to the fine red silt of the soil.
So my forces, in their imagi-nation not Africa/ not Australia (still NOT sure which exactly it will be!) are fighting in the onset of the "wet season" wherever they will be... it will be wet, it will be muddy... they ain't gonna feel pretty at all! (Although I hope the painting will be!)


Painting wise, I have completed four stands of DevilDogs to date - two stands of 'Regular' Marines with Green flak jackets, and two stands of the "Marine Raider Regiment" - the reborn MARSOC - to differentiate them, they are using a 'tactical' combat vest... so in reality it just means they have a 'Luftwaffe Blue' vest and helmet cover.

 One particular mod I am very happy with has been the creation of what I consider to be a "signature" weapon of the US Marine Corps - the SMAW rocket launcher. Built around the Israeli B-300 system, the SMAW has been used by the Marines since '85 and looks like it will keep being used for quite some time!
To make the SMAW was a reasonably easy task. As I am using GHQ's "Modern US Infantry" packages, they come with a surprisingly large number of 'Stinger' MANPADS troops - the Stinger is, at this scale, a dead ringer for the SMAW once you cut off the IFF antennae and lightly file the area flush with the missile tube. A lick of paint, and no one would know you had modified a different system!
I think it is what will set apart my Marines from any other force, the SMAW is such a distinctive system for their use.
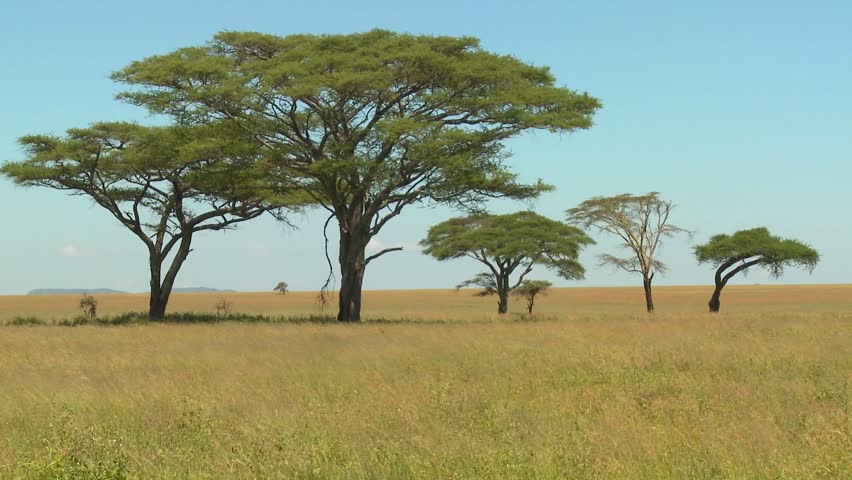
The trees on the bases are branches from a larger scale railway model tree snipped apart - doused in super glue, and then dipped in either a mix of clump foliage/grass or a few different dips straight into the flock grass... The reason I have done this is that I want the trees to look like the spindly 'Chinee Apple' trees we have throughout the top end of Australia like you see down below.
They're scrubby, shabby looking... and you never, EVER want to land in one... as a bloke who used to live on a property with these terrible, spiky bloody plants, yeah... just don't!

I also had some very good luck with my wash (nothing crazy, just a Strong Tone 'Army Painter' wash drop bottle where I only use a drop or two in my paintbrush until it runs out) and the toner sat quite nicely within the facial features of the models... showing up real nicely for the images.
 My
personal favourites are the DevilDog lining up a target with his SMAW
over the top of a patch of scrub, and the Marine Raider lying down with
the Minimi/ M-249 SAW.
My
personal favourites are the DevilDog lining up a target with his SMAW
over the top of a patch of scrub, and the Marine Raider lying down with
the Minimi/ M-249 SAW.Next up, some completed Diggers to go with the DevilDogs!